Add Text to an Image in PowerPoint


This tutorial will demonstrate how to add text to an Image in PowerPoint.
- Insert your image in PowerPoint. If you don't know how use this tutorial.
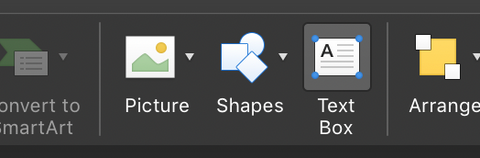
- From the Home Tab click on Text Box.
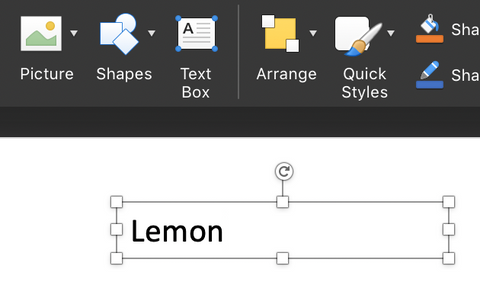
3. After you have clicked on Text Box, click and drag to create a Text Box and then type what you want. Alternatively you can click on the text box and place the text box right on top of the image.
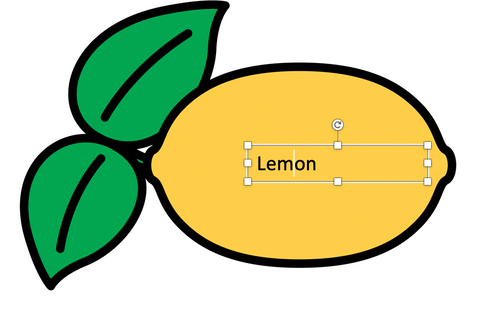
4. Now that you have created a Text Box, click and drag the Bounding Box to your image.

5. Now your Text Box should be on your image.
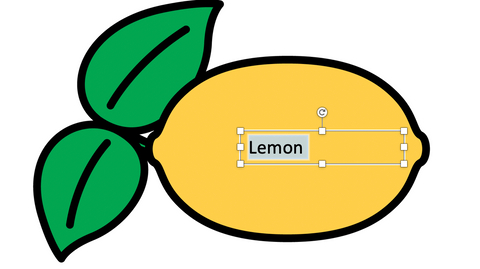
6. Now that you have your Text Box on your image, you can edit the Font Style, Font Size, and even the Text Color. Let's start with Font Size. First double click on your text in the Text Box, this will highlight the text.
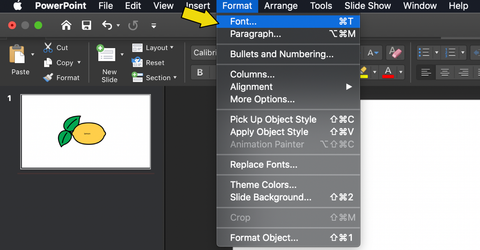
7. While your text in the Text Box is highlighted, click on Format. You will see a dropdown appear. Now select Font.
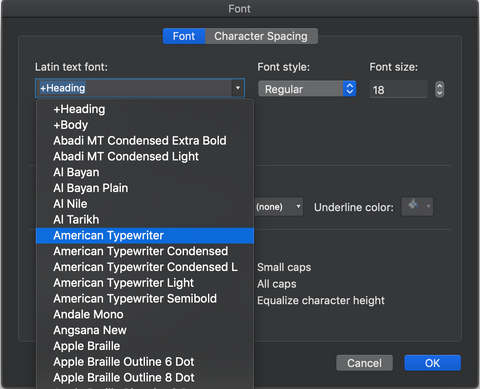
8. The Font Edit Box should appear, from here you can edit a multitude of things. Now that your Font Edit Box has appeared, click Latin Text Font. I have chosen American Typewriter.
9. Now that we have chosen a Text Font. I want to make my Font Size larger to fit my lemon better. You can edit your Font Size in two ways, as shown below.
A) You can double click on the number in Font Size and type a number to change the Font Size. I have entered the value of 32 for my Font Size, I think that will fit in my Lemon nicely.

B) The second way to edit the Font Size is by clicking the arrows to the right of the Font Size. Typing the value is faster, however the arrows allow you to edit your Font Size by a Decimal Value of 0.1 per click. This can be useful for exact sizes. I think I will make my Lemon Font a little bigger and use the up arrow to increase the Font Size by 0.5.
![]()
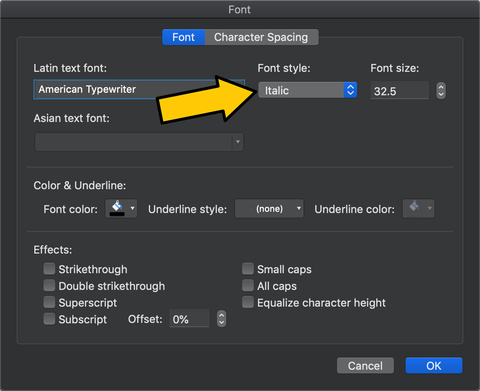
10. Now that we have our Font Size, you can also edit the Font Style. Click on Regular and choose a style. For my Lemon text I have chosen Italic.
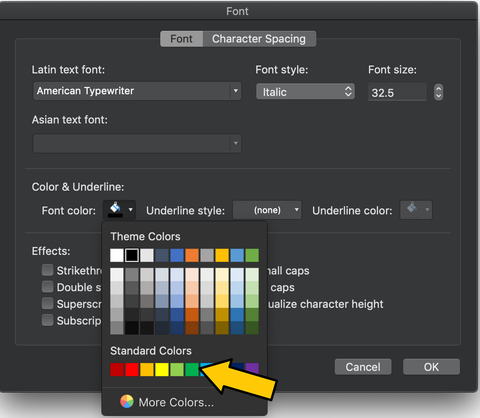
11. Now, I am going to change the Font Color of my text. Under Color & Underline: click on the Paint Bucket and choose a color. I will be picking green.
12. Your text may have bunched up within the Text Box. Don't worry we can fix that. Remember the Bounding Box from earlier? You can click on the White Squares(Control Points) on the Bounding Box to change the size of the Text Box to adjust for your text. Also, you can edit the text more in depth, but for this tutorial we will keep it simple.
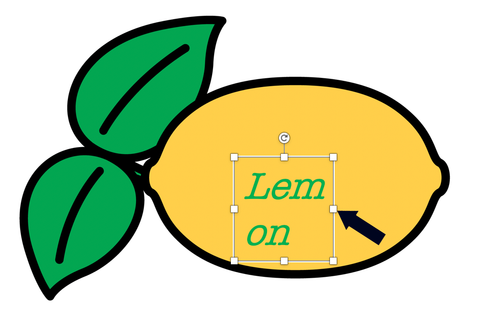
A) Now your Text Box should accommodate your text.
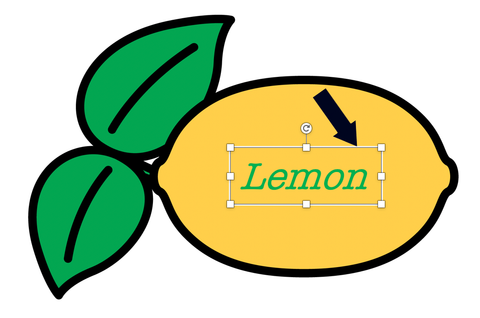
13. You're doing great! You may not like the current placement of your word on your image and that's okay. Remember the pesky Bounding Box? Simply click on the Bounding Box and use your arrow keys on your keyboard to allow small, precise movement of your Text Box.
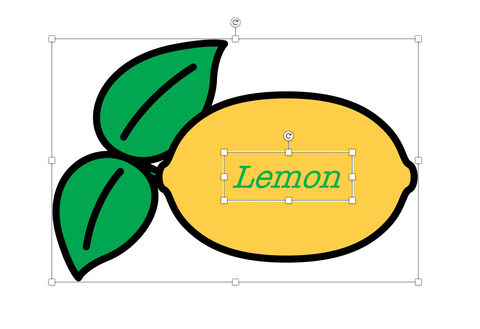
14. We're almost there! We just have one final touch left. As of right now your text and image and still separate and will not move together. However, we are going to fix that together. Click on your text. While you have your Text Box's Bounding Box showing, hold shift and click on your image. It should show both of the Bounding Boxes for the Image and the Text Box.
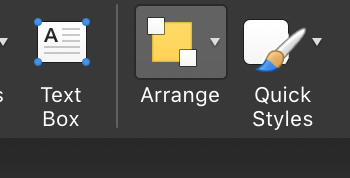
15. While you have both of your Image and your Text Box selected, click on the Arrange button. It will show a dropdown.
A) Now the dropdown will appear, select Group.
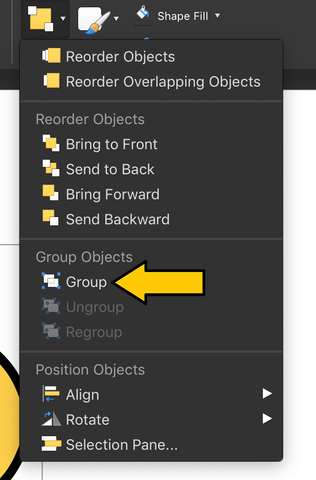
Now your image and your text are grouped together, so if you move your image the text will stay with it.
16. Now that you have it grouped it's time to save the image and text together as a PNG. If you are using Windows right click the lemon, if you are using Mac you will need to Control + Left Click the lemon. Once you do so a list of options will appear and you will click Save as Picture.
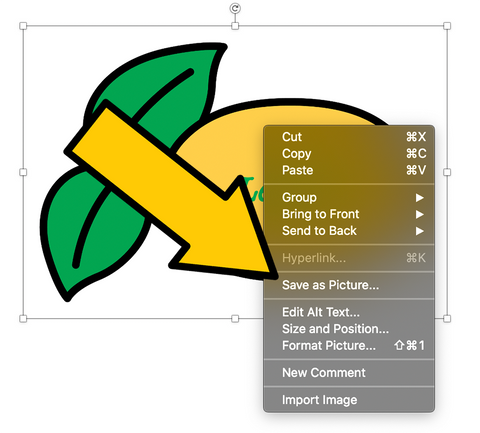
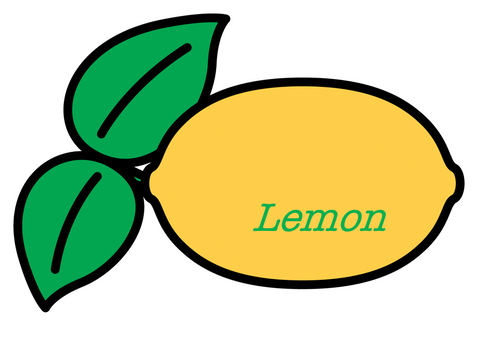
Make sure to save it in PNG format. Now you should have your lemon and text box saved as a single flattened image like shown below.
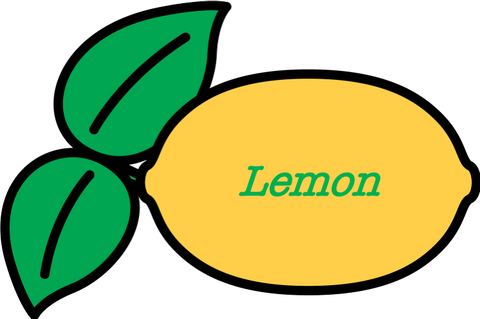
Congratulations, you did it! After following these steps you should have added a text to the lemon and saved it as a PNG.
17. To use this image you can now use the "Insert > Picture from File" to insert the image into your slide.
You might, be wondering why would you want to create an image with flattened text? By flattening the text someone can't erase or edit your text. So, if you need to include specific images with specific wording it is best to group the text and image, save as a picture (png) and the insert the image in your slide.